Suspension trainers are amazing. When used correctly, you can get a great workout anywhere, which is perfect for fitness conscious travelers. With this DIY TRX you’ll learn how to make a suspension trainer that is just as durable and high quality as any you’ll buy, but much more compact and versatile
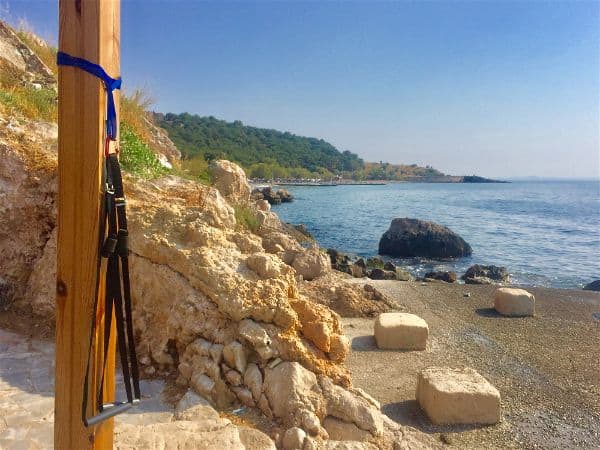
Go anywhere, and stay fit along the way…

CONTENTS
- Why you need a (compact) suspension trainer
- The Minimus Suspension Trainer: Why I made it, Why I use it and why this DIY TRX rocks
- List of Materials for Making the Minimus Suspension Trainer
- How to make the Minimus Suspension Trainer
This article may contain affiliate links
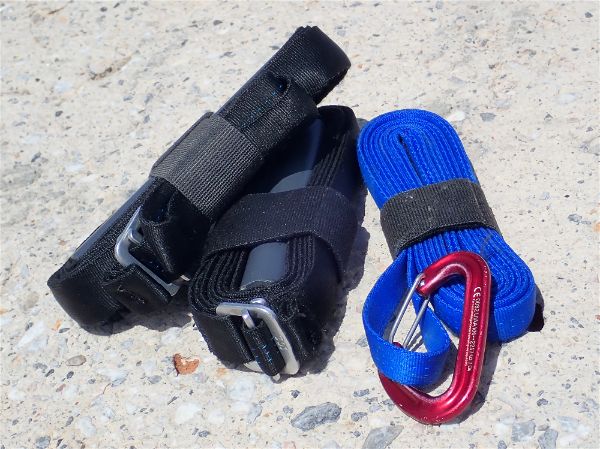
The problems with most suspension trainers are they are either too bulky for travel, or cost too much. The Minimus suspension trainer, an extremely compact suspension trainer that you can make on your own with the instructions that follow, solves both of these problems. Once you’ve mastered the essential suspension training exercises, you’ll be able to train anywhere
By using simple yet durable materials, commonly used in rock climbing, you can create an outdoor gym or hotel workout kit that literally fits in your pocket. All for less than $40. But again, why do you need a suspension trainer? If you are a frequent traveler, minimalist, or love exercising outdoors, read on…

Why you need a suspension trainer
For the past few years, suspension training has been my workout of choice for staying adventure-ready, staying strong, and maintaining muscle while traveling.
Why, you may ask, would I give up my beloved gym training with straps? Three reasons: I can use it anywhere, I can do any upper body movement I want to with heavy resistance using the trainer, and I save time and money with gym fees
1. With a compact suspension trainer, you can workout anywhere (hotel room, beach, backyard…)
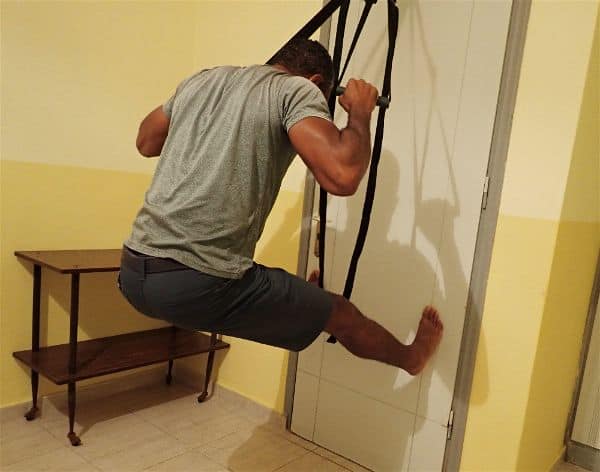
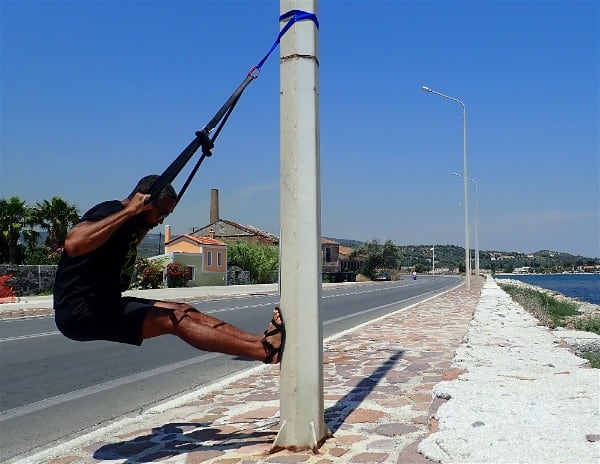
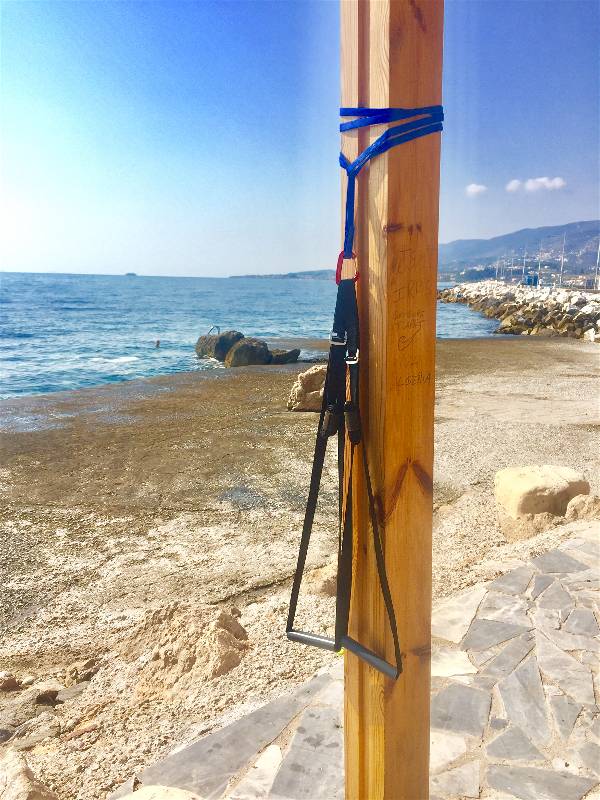
With this suspension trainer, and the minimalist anchor I recommend with it, you can setup anywhere – from a hotel room, to a beach – as long as you have a door you can close or a sturdy post or bar (e.g., light pole, tree, sturdy post) you can setup anywhere. Being able to get in a workout in the park or next to the beach is my favorite reason for using a suspension trainer.
Pairing the The Minimus Suspension trainer with another DIY favorite, the universal suspension trainer anchor that you can also make, will let you setup your suspension trainer indoors just like a normal TRX door anchor or outdoors anywhere you can find a sturdy object to anchor to.
2. You can get in your workout of choice – any upper body movement or exercise with heavy resistance
With suspension trainers there is a small learning curve and learning period during which you have to “learn the straps” – which is essentially learning how to setup the suspension trainer and the anchor such that your bodyweight (and gravity) provide resistance against your movement of choice.
Once you understand this concept any upper body exercise (pull ups, dips, horizontal rows, upright rows, chest presses, overhead presses, bicep curls, and triceps extensions) become possible, as well as some great lower body exercises (single leg squats, deadlifts via suspension trainer). All of these exercises are possible with resistance that nearly equals your bodyweight – so ~150lbs for me. This article details how to do these essential upper body exercises with a resistance trainer.
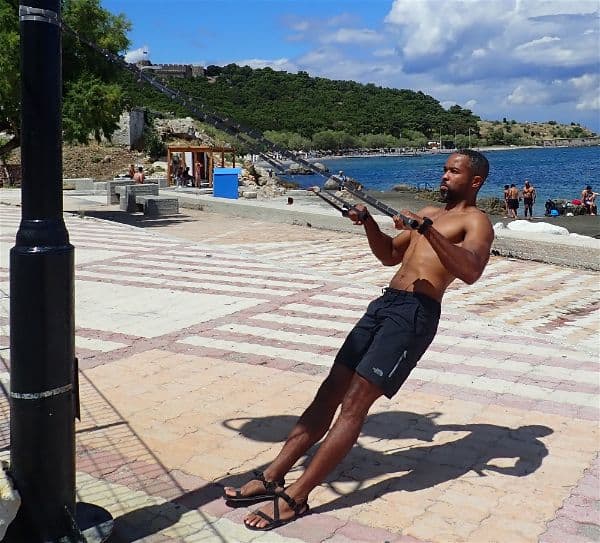
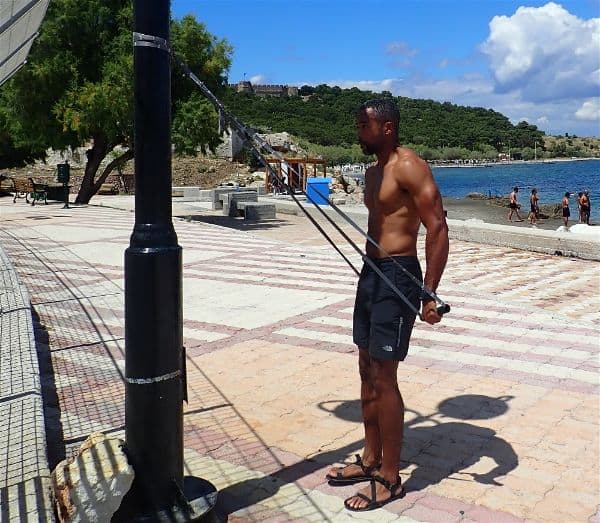
The best part is if this resistance isn’t enough for you, you can double the simulated resistance by going one handed on any exercise. For instance, whereas a normal suspension trainer pull up may provide 135lbs resistance for me, I can switch to one-handed pull ups and achieve resistance similar to a 270lbs lat pull down (performed with two hands).
Of course, no one makes a jump from 135lbs to 270lbs on an exercise, and with a suspension trainer you can progress gradually between these two resistance levels
3. You’ll save time and money by skipping gym fees and registrations
When I first started with the original TRX, the money saved was great. I no longer waste that $50-$100 a month on gym fees when at home. Unfortunately, the TRX was still too large to take on the road traveling…then the DIY TRX project started. Now, with the Minimus suspension trainer fitting reasonably in my carryon, I no longer pay for gym registration when I’ll only be in a city for one week or one month. The savings are amazing!
But what about lower body? What about a nice heavy deadlift and the ever-essential squat with resistance? For this, I recommend my setup consisting of a pair of short, high resistance exercise bands with carabiners as makeshift handles used to create heavy resistance for lower body exercises. Pairing these with the Minimus suspension trainer creates the perfect, compact portable gym. For more on this idea checkout the article “The Travel Fitness Plan and the Portable Gym: A Workout for Travelers”.

The Minimus Suspension Trainer (aka the DIY TRX)
Why I made it and why I use it
How was the idea of the Minimus born? By living an adventurous life outdoors and needing a way to stay fit, anywhere, without a gym.
I live my life outdoors, hiking or camping, and traveling for months at a time, but health and fitness are an essential part of my life. For me, health involves being strong enough, fast enough, and mobile enough, to take on any adventure and enjoy it. Because of this, I made the goal of creating a suspension trainer that packed down small enough for the side pocket of a backpack, as durable as my rock climbing gear, and versatile enough to do any upper body exercise as well as a deadlift.
I took all of my left over rock climbing gear ot of the closet, bought some buckles and pvc pipe, and started sewing. The result was the Minimus. Which achieves my goals of:
Simplicity and compactness – small enough for travelers that only take a carry on
Durability – Rock climbing grade materials will stand up to abuse
So…here’s the Minimus!

Materials You Need to Make the Minimus Suspension Trainer
To make the Minimus Suspension trainer and the universal anchor you will need the following materials:
Equipment for the Suspension Trainer
- 1” Tubular Nylon webbing, at least 9 meters (3 meters per suspension trainer)
- Heavy duty Nylon thread (plus heavy duty needles or sewing machine)
- 2 pieces of 7” long pvc pipe suited for your grip
- 2 climbing grade buckles
- Velcro strap
Equipment for the Anchor
- A ~2 Meter long rock climbing “runner” (tubular nylon webbing sewn into a loop
- Climbing grad carabiner
For information on how to setup the anchor, indoors or outdoors, and how to setup the Minimus, please check out this article on making a quick, DIY universal suspension trainer anchor

Let’s review the materials you’ll need in a little more detail, and why we need these materials
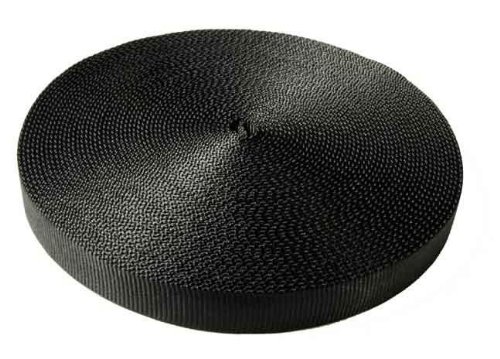
1 inch Tubular nylon webbing: Tubular nylon webbing is perfect for our needs as it is extremely durable and climbing grade, usually tested to 4000lbs tensile strength. Unlike normal webbing, as is used in the TRX and for the Monkiii Bars 2, tubular nylon webbing is much softer and the edges are smoother making it more comfortable when rubbing on the skin while doing dips or other exercises and also allows the handles to slide easily with your movements, making exercises movements more natural. Tubular nylon webbing can be purchased cheaply on Amazon. Each strap of this DIY TRX uses 3 meters of webbing, so plan on at least 6 meters of webbing.
Climbing Grade Carabiner: The carabiner should be climbing grade, which ensures it is durable and can support 1000lbs+. You can tell whether the strength of the carabiner by checking the spine for the ratings. If the carabiner says “not intended for climbing” or something similar, it’s a no-go. I recommend using the Metolius FS Mini carabiners as they are very small (making them perfect for travel), cheap, and rated for climbing and heavy loads.
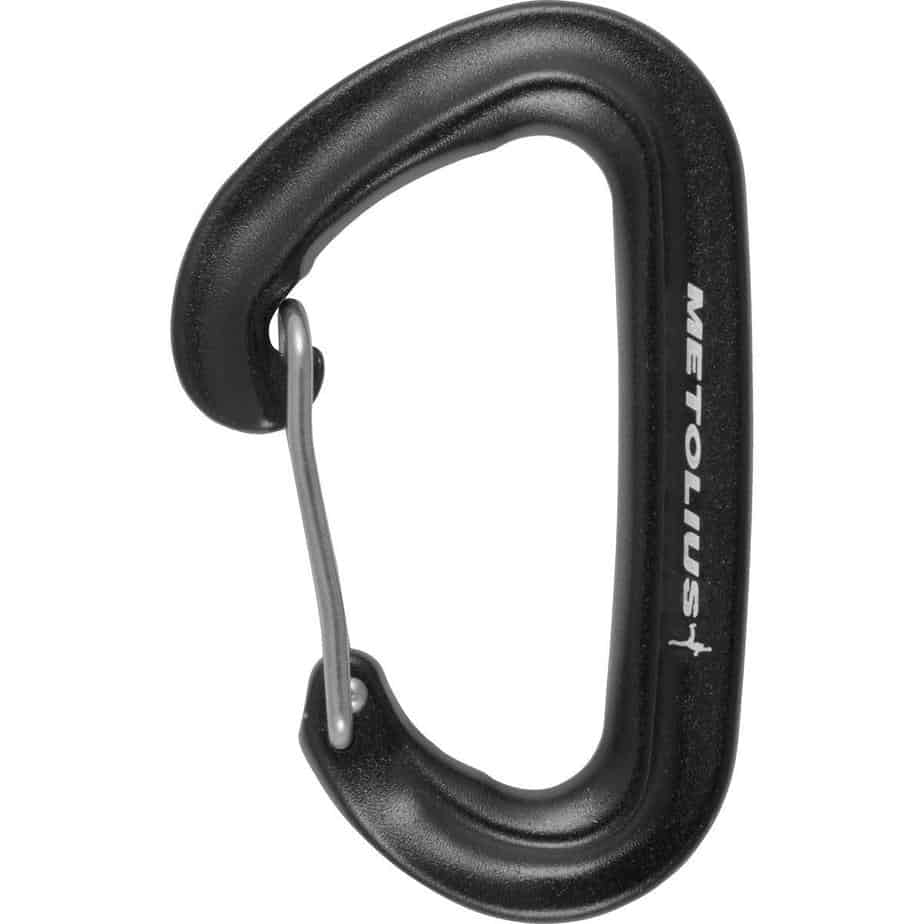
We will use the carabiner to clip in our suspension trainer (the loops with our handles) onto our anchor, quickly and easily
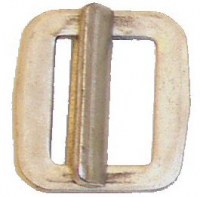
1” Climbing grade cinch buckles: Climbing grade cinch buckles are the type used on rock climbing harnesses and allow us to adjust the suspension trainer straps’ lengths quickly and easily buut provide the strength necessary for a durable suspension trainer. Onrope1.com has been my site of choice when purchasing buckles and the DJ101 buckle is rated for life support use, making it sufficient for or needs.
Heavy Duty Nylon Thread: Heavy Duty nylon thread, optimally size 92, offers the highest tensile strength and durability, usually between 8lbs and 15lbs tensile strength, depending on the thread size, and much more than polyester threads or normal threads used in fabric. Using this thread allows us to build a durable suspension trainer that can withstand high weight/resistance. I used sized 92 nylon thread meaning thread had a 15lb tensile strength. I recommend using the same. Brand isn’t important, just ensure the thread is nylon, and thick. Note that you may also need heavy-duty sewing needles if sewing by hand and definitely if using a sewing machine
Rock Climbing “Runner”: In rock climbing, “runners” are lengths of strap (often tubular nylon) sewn into a closed loop and used to “clip in” to an anchor and support the weight of a climber while they rest or work. This works perfectly for creating our anchor as the runner can easily support 1000lbs+, is compact enough to put in our pocket, and using two knots (the figure 8 and the pipe hitch) we can set this anchor up anywhere.
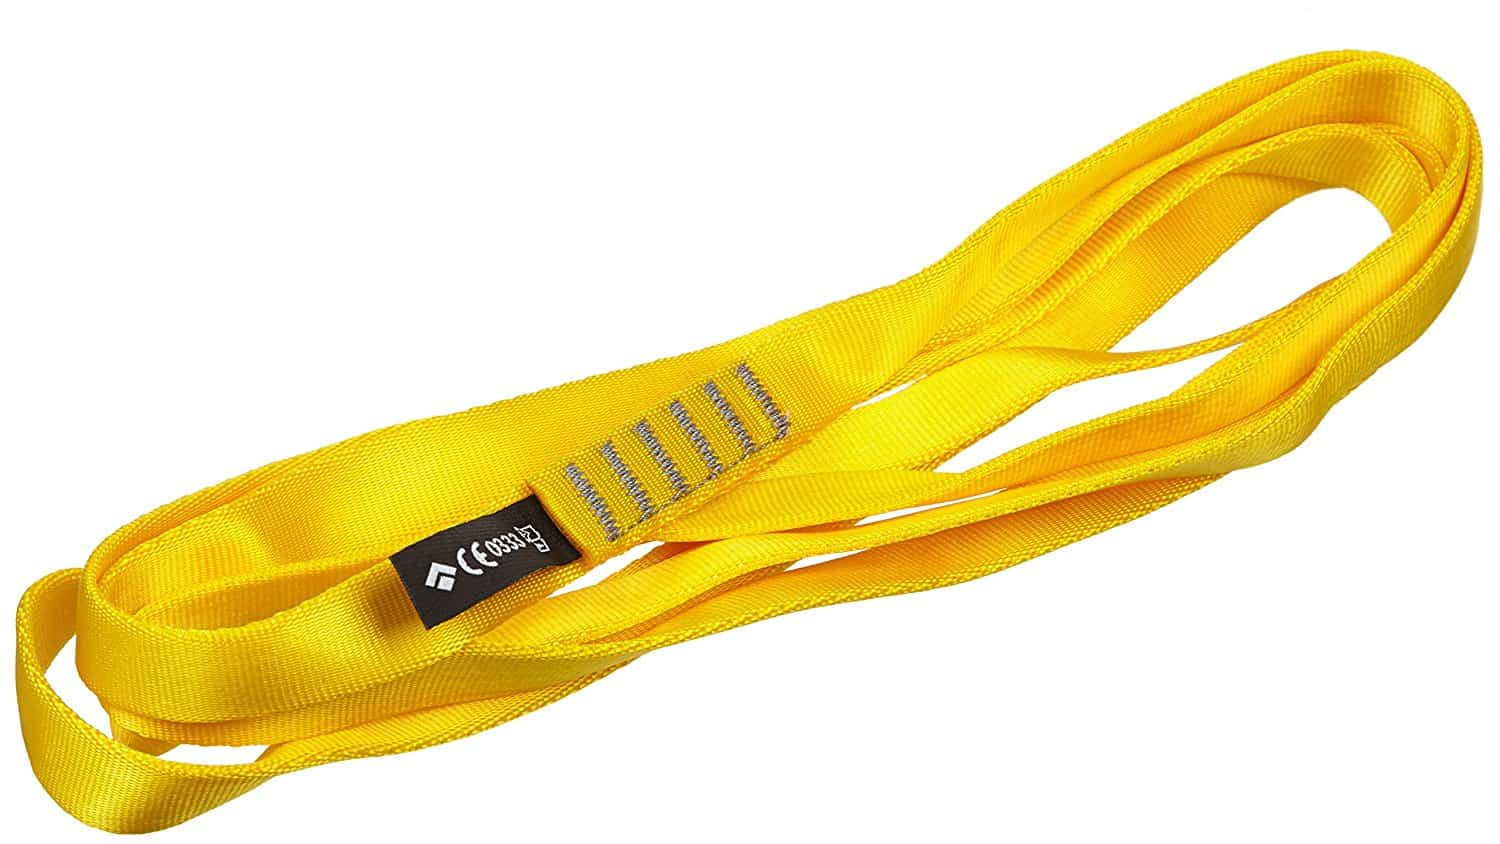
The figure 8 knot allows you to setup up your suspension trainer quickly and easily in a doorway of any room. The pipe hitch allows you to easily setup your anchor on any sturdy cylindrical object, like a tree or light pole. Checkout this article for more on how to setup and use the minimalist suspension trainer anchor indoors or outdoors. If you’re feeling handy, you can always by a little extra tubular nylon strap and make the runner yourself, though the $15 to buy a professionally stitched one provides some comfort when hanging upside down doing inverted rows.
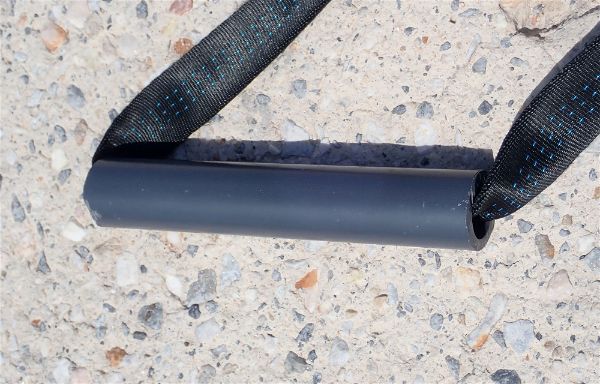
PVC Pipe: 2 pieces PVC pipe, cut into ~7 inch pieces will form a durable, cheap, and effective handle. This is best purchased at any hardware store for less than $1. Ask the staff to cut the pieces for you and save you some time. Hold the pieces of pvc pipe in your to test their size as handles and adjust the length accordingly
Velcro Strap: Velcro strap is a cheap and extremely effective way to keep your trainer organized. Just cut off a piece and wrap it around your rolled up trainer to keep your system organized in your bag. I purchased mine cheaply at a fabric store, but this Velcro strap option on Amazon will work just as well.

How to Assemble the Minimus Suspension Trainer
- Arrange your materials
- 2 pieces of 1” tubular nylon webbing
- 2 heavy duty climbing grade metal buckles
- 2 pieces of ~7” PVC pipe
- Heavy Duty Nylon thread
- Assemble pieces (webbing, buckle, pvc pipe) into the first strap and handle and stitch webbing
- Run one piece of the ~3 meter webbing through one of the pieces of PVC pipe
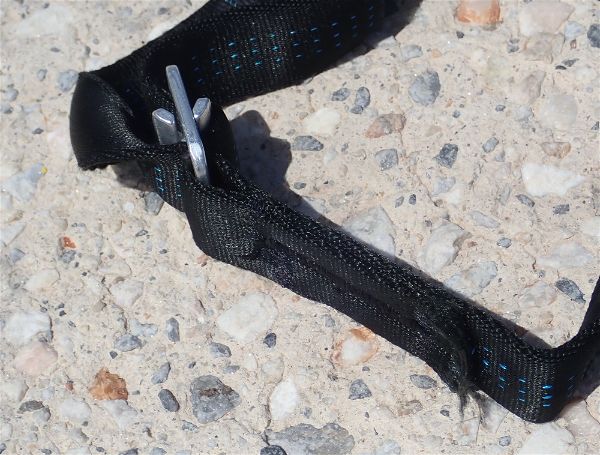
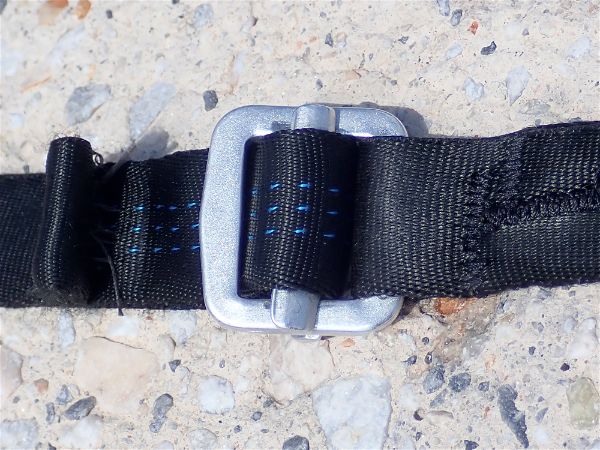
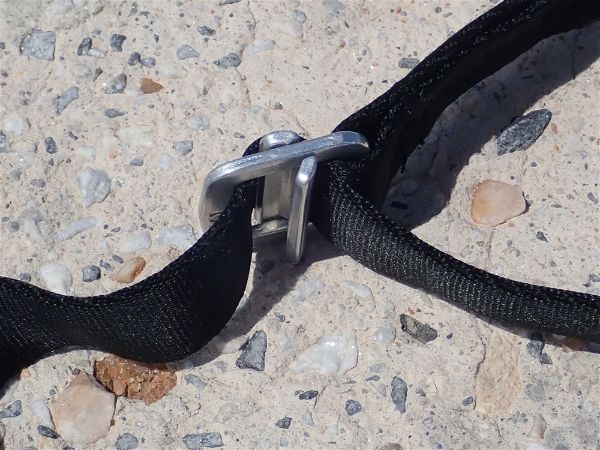
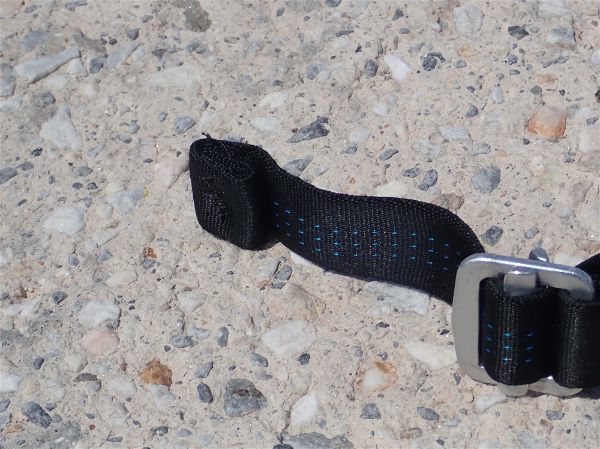
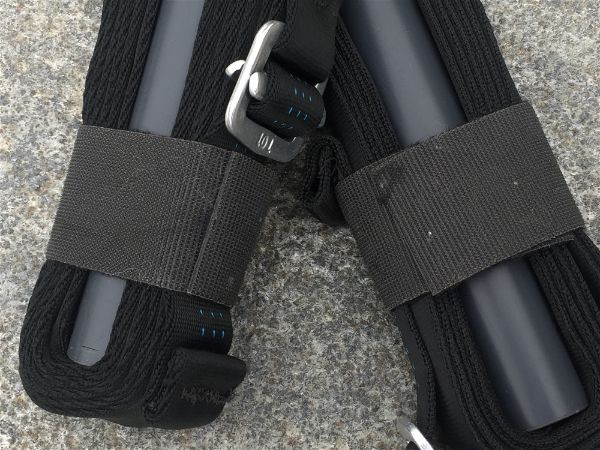
Note on sewing: If you are uncomfortable sewing, at the point that secures the buckle into the straps, consider just tying a figure 8 knot to secure the cinch buckle in place. The knot will mean that your Minimus doesn’t pack down as cleanly as the one pictured, but it will still do an execellent job and you can make it without sewing.
On the off chance that you can’t sew, or don’t trust sewing abilities enough to put your weight on, consider these great suspension trainer options
- The Monkii Bars 2 & The Monkii Bars 2 Review
- The Pocket Monkii: A more compact, quicker to setup version of the Monkii Bars 2 (Read the full Pocket Monkii Review for more info)
- TRX Go
- TRX (not recommended for frequent travelers – too bulky, but still great for home gyms)

What Next: Add flat resistance bands for lower body exercises
Now that your upper body resistance exercises are taken care of, consider getting a pair of heavy duty flat resistance bands like the Rogue Monster Bands.
With the compact bands, that travel well, you’ll be able to do resistance band deadlifts and squats, building lower body strength and muscle anywhere.

Other Great Travel Fitness Content
- The Essential Workout Equipment for Home Gyms and Travel Workouts
- How to make heavy-duty resistance bands with handles
- A Review of the Monkii Bars 2 Compact Suspension Trainer
- How to setup a suspension trainer indoors or outdoors with the DIY minimalist suspension trainer anchor
- How to do the essential exercises with a suspension trainer, in an outdoors or hotel room workout (pull ups, dips, rows, overhead presses, curls, and extensions)
- The False Grip: Mastering the Key to Muscle Ups
- Muscle Up Progressions: How to work up to your first muscle up
- 33 Essential Parallette Exercises for Strength and Durable Fitness


ABOUT THE AUTHOR
Carlos is a nomad, slow traveler, and writer dedicated to helping others live abroad and travel better by using his 7+ years of experience living abroad and background as a management consultant and financial advisor to help other nomad and expats plot better paths for an international lifestyle. Click here to learn more about Carlos's story.

